With simply paper and creativity anyone can create art


Monday, May 17, 2010

Easier 9 Petal Flower Variation

Here is a variation of the folded flower from my last post (right side). I was bored watching the kids ride their bikes so I grabbed the leftover paper from my tutorial and made up my own variation. Finally something I can take credit for, LOL - and this one is actually easier!

Step 1: Punch out 9 circles and fold them in half with the petal pattern on the outside this time.
Step 3: Fold back top edge of the circle to create the double bloom. Again make sure all your semi-circles are facing the same way when doing this.
Step 4: Ink the edges and glue the petals as in the previous flower, the bottom to the back of another petal until all are added. That's it!
Note: These flowers also work with ovals, you just need a few more petals and it has a "spikier look".


Wednesday, May 12, 2010

Easy Folded Flower Tutorial

As promised, I am going to do an easy folded flower tutorial as seen in one of my recent May Scrap That! kit layouts. At the end, you'll have a two-layer, 6-petal flower as shown below. The beauty of these flowers is that you don't need double sided paper (like you do with most other folded flowers). This is not a new concept and I cannot take credit for inventing this flower... I found it a long time ago on the internet along with other folded flower tutorials that I will be providing in the near future.

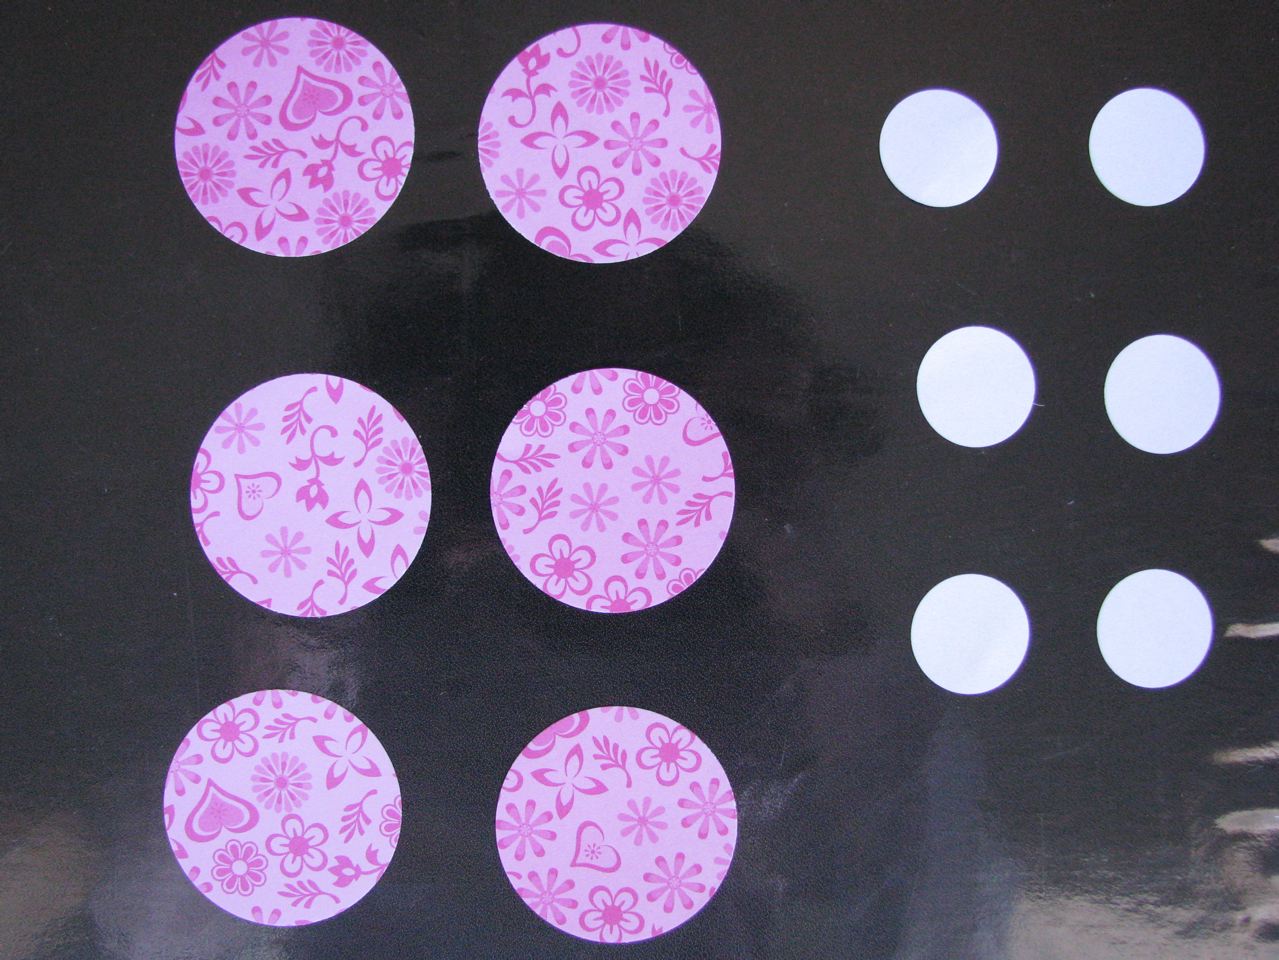
Step 1: Punch out 6 large circles and 6 small circles. I used a Fiskars and a Creative Memories Punch.
Step 2: Fold the circles in half with the pattern (that you want showing at the end) on the inside and then fold up the bottom a third of the way up. Make sure that all of the circles are folded the same way. Mine I do with the curve facing left as shown below.
Step 3: Unfold back to a semi-circle position and use the crease that you just made as a guide to "open the petal".
Step 4: Repeat this for all 12 circles.
Step 5: Glue your flower layers together by glueing one bottom "flap" to the back of a petal at a time, until all of them have been added. I find that using a glue stick is less messy and works best so that if you need to adjust the petals to be spaced more evenly at the end... then it allows you time (since it dries slower than other adhesives).
Step 6: I ink the edges before glueing the two layers together and then finish off by adding Stickles to the centre or a brad.
That's it! You can also make this a 7 or 8 petal flower if you like a more crowded petal look. Enjoy!

Monday, April 26, 2010

Reveal Day for Scrap That! May kit

Scrap That! is launching a kit club on May 1st and today is the design reveal day, so exciting! This kit is so full of beautiful papers and embellies. The 6 main papers are from the Glitz - Vintage Love collection, plus a few specialty papers AND 3 plain cardstocks. Then, there are so many embellies, Walnut ink, Stickles etc. included that I ended up with 5 layouts! Here they are:

"Tomorrow" is a layout of me the day before my wedding in the Bahamas. This layout is fully loaded with Prima products from the "Blue Velvet" May kit and the cream paper was a specialty paper in the kit too. I love the all the embellies so much!

Design Tip: Add Stickles to the centre of paper flowers as an economical alternative to gems.

This is another layout of me made with the May kit. My hubby took the picture when I was VERY pregnant with my daughter and didn't want my belly photographed anymore. The Basic Grey brown and white doily paper was a specialty paper in the kit that went perfectly with the brown Glitz paper. I made the white flower with plain cardstock. I will be posting a step by step tutorial of how to make it next week. I love that butterfly in the kit.

Design Tip: Make your own paper flowers using tea-bag folding techniques.

"1 more" is a layout of my husband and I with our daughter. After having two boys, I asked my husband for one more try for a little girl. It all worked out for me, LOL. I traced the BG doily paper shape before using it on my other layout so I could make this with it. The Maya Road envelope comes with the kit too.

Design Tip: Use walnut ink and a doily paper to make your own patterned paper.

"baby love" is my son at 2 years old holding his new baby brother. I have been waiting for the perfect papers to scrap this photo. The border is from the specialty paper included in the kit and I love the coordinating letters and flowers.

Design tip: Distress and ink paper for a softer edge.

The final layout, "us" is my husband and I the day before our wedding. I used the beautiful sketch in the kit as inspiration for this layout. It was a great way to use up scraps from the other 4 layouts too! The lace is real vintage lace in the kit bought off Etsy.

Design tip: Use an ink pad over a mask to create a unique page feature.

Well, I hope you like them and be sure to check out the Scrap That! community gallery to see what the other design team members did with this beautiful kit at http://scrapthat.ning.com/.

Friday, April 16, 2010

My parents at 6 years old

Well, even though I haven't posted in a while, I certainly have been busy creating new layouts and will have lots to reveal for my new Design Team position with Scrap That! -- a new Canadian kit club launching May 1st. Here are two new pages I made for a class I am teaching.

The first is my mom in 1959 when she started school at 6 years old. This was my first attempt at a handmade fan flower and thought this was a really nice touch for this page style. I glimmer misted it to give it some sheen. The papers are all 7 Gypsies and I am loving my new MS butterfly punch.

Design Tip: Use tearing rulers and edge punches to give paper edges fast and easy texture.

The second layout is of my dad at 6 years old when he came to Canada from Portugal. Again the papers are all 7 Gypsies -- I just love the contrast in the Savannah line. I also love the simplicity of this and it was really hard not to add a single flower but then again I made room for some bling.

Design Tip: Ink a bright ribbon (such as gold shimmer) with charcoal or dark brown ink to tone it down and match your heritage layout.

Sunday, February 28, 2010

4 new layouts to celebrate a new blog


Here are a few new layouts.

The first "uniquely you" is page one of a double spread for a class I am teaching on "how to work with difficult patterns". My local scrap shop had a lot of this BG paper that didn't sell well, so I decided to give it a go. The tag is MME.

Design tip: Break-up a busy pattern with a doily.


For the second page of the spread, in "sweetness", I worked with swirls and tucked the green mat paper behind. The tag is MME.

Design tip: Don't fight with the paper instead, let the pattern guide your design.


My third layout is "wish". I have scrapped this picture before but wanted a layout to coordinate with my "gift" one for my daughter's album. The flower was hand-folded and the papers are an old Prima line from my stash.

Design tip: Weave ribbon into your punch work for added texture.


The fourth layout "sweet little one" is a partial scraplift of Gabrielle Pollacco's "summertime memories". This was done for a class I am teaching at my local scrap shop. The papers are from a few MME lines.

Design tip: Use Stickles to make your own "bling".


Thursday, February 25, 2010

I finally set up this blog!

This is my latest layout, inspired by all the "Swirlydoos" work I've been seeing in the Scrapbook.com gallery this month. The papers are K and Co and the flower was made by layering several crumpled and glimmer misted punched flowers.

Design tip: Ink and tint your doilies for a masculine layout.