
I created a new handmade flower to complement the romantic Pion Design style papers I am working with. What I like about these is that you don't necessarily need to own a paper punch or die cutting machine to create them and they do not get damaged in a scrapbook.
Supplies you will need:
- Three same sized 3-petal flower shapes. I used the Marvy Uchida "Pansy" punch (2-inch)... but see next step if you do not have a punch or die cut like this.
- Water to mist
- Paint: Snow Writer (DecoArt brand), dimensional paint (like Liquid Pearls) or fabric puff paint. A heat gun is required if using fabric paint to make puffy. I used Snow Writer on mine because I love the thick texture (and it is acid-free).
- A decorative centre (mini rose, button, large brad etc.)
- A rounded tip object like a marker or thick pen
- A foam mat (like a computer mouse pad)
- Some liquid glue of choice

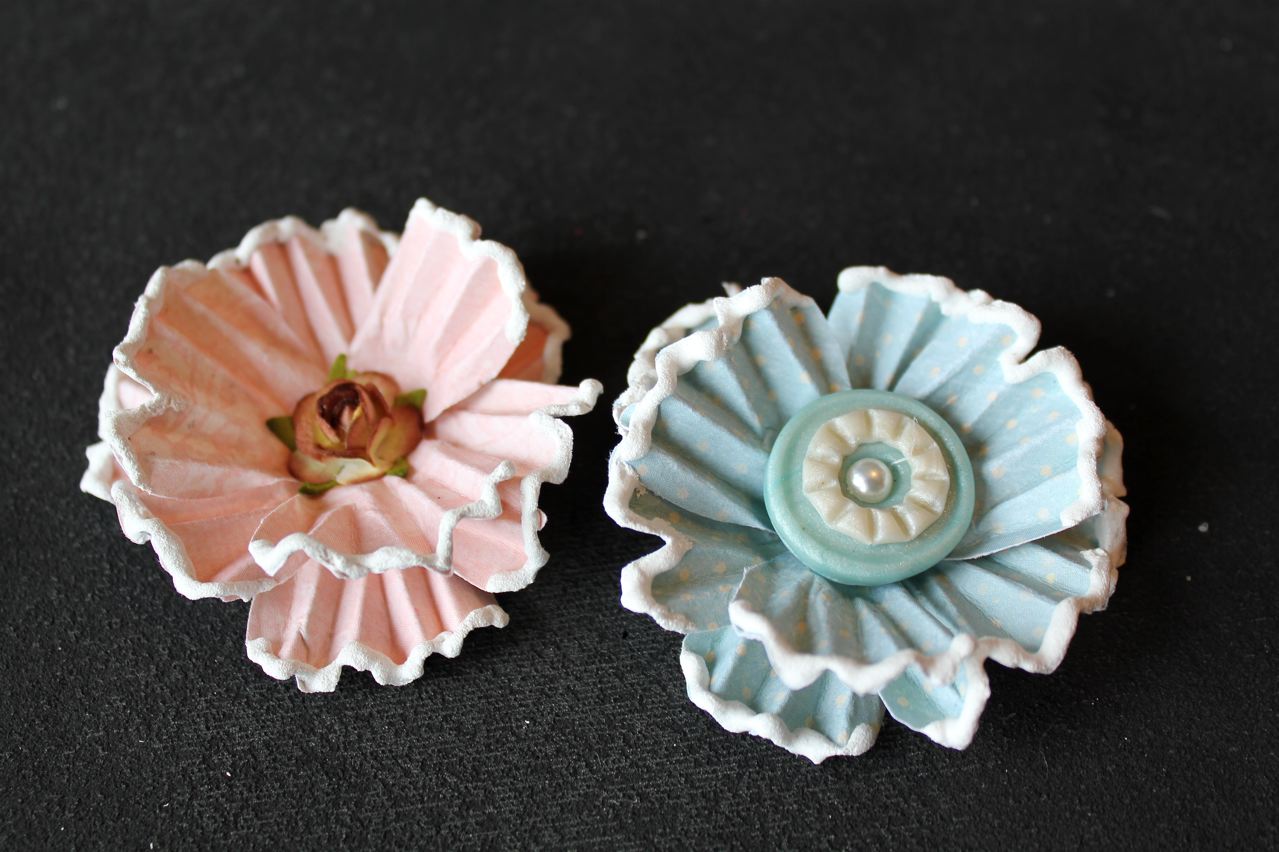
If you do not have a 3-petal flower punch or want a different flower size, then use a circle and draw the shape and cut it. As shown below, it is very easy to get a similar shape to my pink punched flower. The pink Tulip Bud paper from Pion Design's Fairytale of Spring collection is featured in this tutorial.

Step 1: Mist your 3 flowers with water and pleat fold your petals (like an accordion).

Step 2: With your rounded pen, press into the middle into a foam mat to form a cup shape. Let completely dry.

Step 3: Once dry, pull the petals open and frost the edges with your paint and let dry.

Step 4: Glue your 3 layers together and while the glue is still wet press entire flower into the foam mat to raise the petals. Let glue completely dry.

Step 5: Add a decorative center. You can also add ink to the painted edges for rustic layouts. I did not for this tutorial.
Five easy steps and you're done! BTW - the custom blue resin button was made by my friend Ivana Camdzic.
Thanks for stopping by. As always, I am more than happy to share how I make my flowers but should you make them yourself and post online, please give credit where due (as these tutorials do take a fair bit of time to produce). TFL!


15 comments:
Thanks for sharing your tutorial these are so pretty and I will certainly be having a go!! Love Chanelle xxx
Beautiful flowers and thanks for the tutorial.
Thanks for the tutorial, your flowers are beautiful and the blue button your friend made is awesome too :)
this is fun lovely flower thanks for showing...
byebye,Lean
Oh these are great. I was just going to clean the mess up in the kitchen from scrapping all day yesterday, but now think I need to try these right away. My poor husband!!! Thanks so much for taking the time to do these tutorials.
Lovely flower...Thanks for the tutorial.
Hugs.Evie (Singapore)
Oh..my!!
This is gorgeous!
Thanks for the tutorial.
Hugs Anne
These turned out beautifully and your tut is so easy to follow!!! I'll definitely give this a try, thanks so much :)
My first order is in for Dustey Attic! Maybe you should sell these flowers out there too!! I looked for a few to add to my order!!!!
Beautiful Vicky!! Nothing like handmade custom flowers!! They always add that special touch to LO's!!
Lovely!! Thanks for the tutorial.
Hugs from me,
Ejja
very cute flowers, Vicky! I like! ;)
love this tutorial! Thanks for sharing!
Vicki: here is my version of your flower and a BIG thanks!
http://mitralee.blogspot.com/2011/06/you-ever-have-moment-where-you-sit-back.html
What pretty flowers, and great that they are not damages in an album. Thanks for the tutorial
Post a Comment