With simply paper and creativity anyone can create art


Saturday, May 4, 2013

Swirlydoos NSD Challenge!

Right now the Swirlydoos design team is hosting a bunch of fantastic challenges in honour of National Scrapbook Day (but you have a week to complete them). Great fun and prizes to be won!

Visit the Swirlydoos Forum to see all of the challenges.
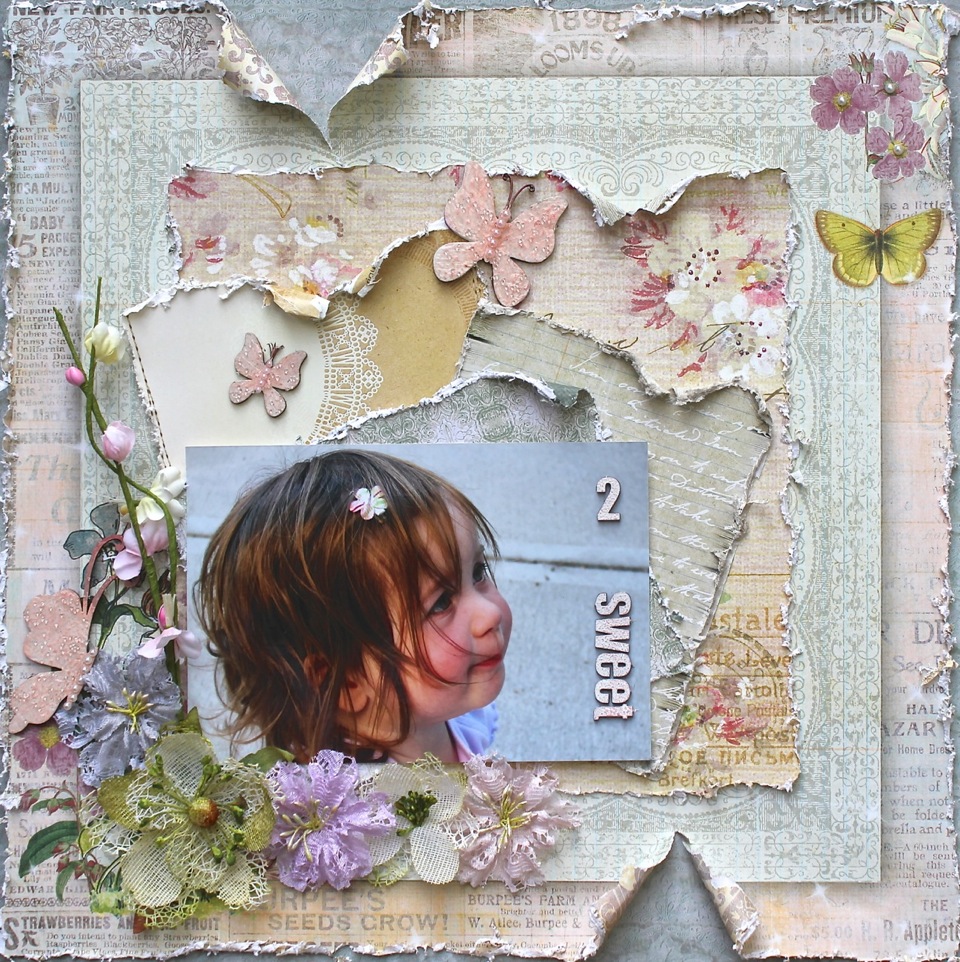
For my Pearl and Lace Flower tutorial see previous post.


MY CHALLENGE:
1. You will need to create a flower using my Pearl and Lace Flower tutorial (in the previous post).


2. Use your handmade flower(s) on any project of your choice. If you would like to make an altered mason jar (as I am doing), you will need a clean glass jar, paint (I used white Martha Stewart multi-surface paint because it stays well on glass without the expense of glass paint - and it can even be hand-washed after curing), plus any other embellishments of your choice.

3. Post your project in my thread on the Swirlydoos forum at: http://www.swirlydoos.com/sd_plugins/forum/forum_viewtopic.php?207305


Here is a great recipe idea to fill the jar with...
(makes a wonderful mother's day or teacher gift)

LEMON PEPPERMINT FOOT SCRUB RECIPE
(adapted from a www.freutcake.com recipe)

- 2 cups coarse salt or sea salt
- 1/2 cup almond or coconut oil
- 2 tsp lemon zest (grated lemon peel)
- 10 drops of peppermint essential oil (aromatherapy)
- 2-3 drops of yellow food colouring
*Mix well and store it in the fridge. Enjoy!

There will be special prizes for the challenges and also great promotions later on today in the online store.


Pearl and Lace Flower Tutorial (no sewing!)

I am so excited to share another flower tutorial.


Materials you will need:
-- 3 or 4 feet of small string pearls
-- 3 or 4 feet of narrow and thin/sheer ribbon (I used seam binding)
-- 3 or 4 feet of narrow lace trim
-- a small punched paper circle (I used 1-inch diameter)
-- loose pearls or gems of your choice
-- strong holding glue (like hot glue or Helmar 450 quick dry)
-- clear, fast drying glue to use on the pearls/gems
OPTION: inks/mists to tint the ribbon BEFORE making the flower.

NOTE: I used 4 feet of each trim to yield the large 4-inch cream flower and only 3 feet of trim for the smaller pink 3-inch flower.

STEP 1: Wrap all 3 trims around your 4 fingers, holding the ends with your thumb. Twist the 3 trims as you go so you don't end up with all the same style on one side. NOTE: If you are only using 3 feet of trim, then only wrap around 3 fingers for a smaller flower diameter.

STEP 2: Once you reach the second set of ends, take just the ribbon (my white seam binding) and wrap it through the middle to secure everything into a bow shape. NOTE: This will be a little harder if you only use 3 feet of trim and 3 fingers.

STEP 3: Carefully slip it off your fingers and very, VERY tightly tie the two ribbon ends together (my white seam binding).

STEP 4: Gently start shaping your flower by spreading out the trims. You may need to loop things together to get a nice round shape.

STEP 5: Put a generous amount of strong holding glue on the tied knot and tuck loose ends into it - secure by pressing your paper circle over top. Let it dry.

STEP 6: Flip it over and glue a bunch of pearls or gems to create a cluster in the middle - using clear, fast drying glue.

This flower may cost as much to make as it would to buy a premium fabric Prima flower... but the result is worth it. Best of all you can make it in any color or size you need :)

Please let me know what you think of this new tutorial!

Thursday, May 2, 2013

Thoughts

I rarely share this kind of stuff BUT, felt the need today...
click on image to see larger


Tuesday, April 30, 2013

2 sweet (Swirlydoos/ OUAS/ Dusty Attic)

I'm back with another project using my pretty April "Hello Beautiful" kit from Swirlydoos - plus some of newer Dusty Attic chipboard styles (butterflies, numbers and letters). I also used the gorgeous Once Upon a Sketch (OUAS) May challenge sketch.

Click on images for larger view.
Journaling on the back of the layout reads:
"This is sweet little you at the tender age of 2... a perfect little bundle of wonder and joy."

Here is a close-up of some of the Prima flower packaging I used and the pretty Dusty Attic butterflies. Isn't glass bead gel fantastic stuff to use on chipboard? There was a tub of it in the Swirlydoos technique kit this month.

This is a peek at the amazing kit flowers that came out of the pretty packaging!

Here is the awesome sketch I used. The theme this month is number(s). Check out the full once Upon a Sketch DT reveal and challenge details/prizes.

Sadly this will be my final reveal for the OUAS design team. Huge hugs to Nadia and all of the wonderful ladies on the DT... it has been an honour to work alongside such talented people.

Monday, April 29, 2013

"Sublime" (Meg's Garden/ Dusty Attic)

On this project I have used a combination of beautiful papers from Meg's Garden (The Spring Paisley and Ode to a Summer's day collections). I then added some fabulous Dusty Attic chipboard and Prima flowers as well as resin to frame the photo. Lastly, I balanced the layout by revealing a square doily behind some rolled edges. I just adore the birds on a branch chipboard (DA0594) - perfect to suit this layout scene of my mom on her wedding day (and my grandparents in the background). I also used a the word "sublime" from a mini word pack (DA0476) as my title.


I primed the birds on a branch and title pieces with gesso. Next, I used several chalk inks on the branch starting from light colours to dark until I achieved the natural "look" I wanted. As for the title, the gesso was a perfect match to the resin shutters  - so I left it alone. It created a nice dull white frame around the photo.

This is my final DT project for Mag's Garden. I would just like take this opportunity to thank Meg for letting me serve on this wonderful design team for the past year, it has been a true pleasure!