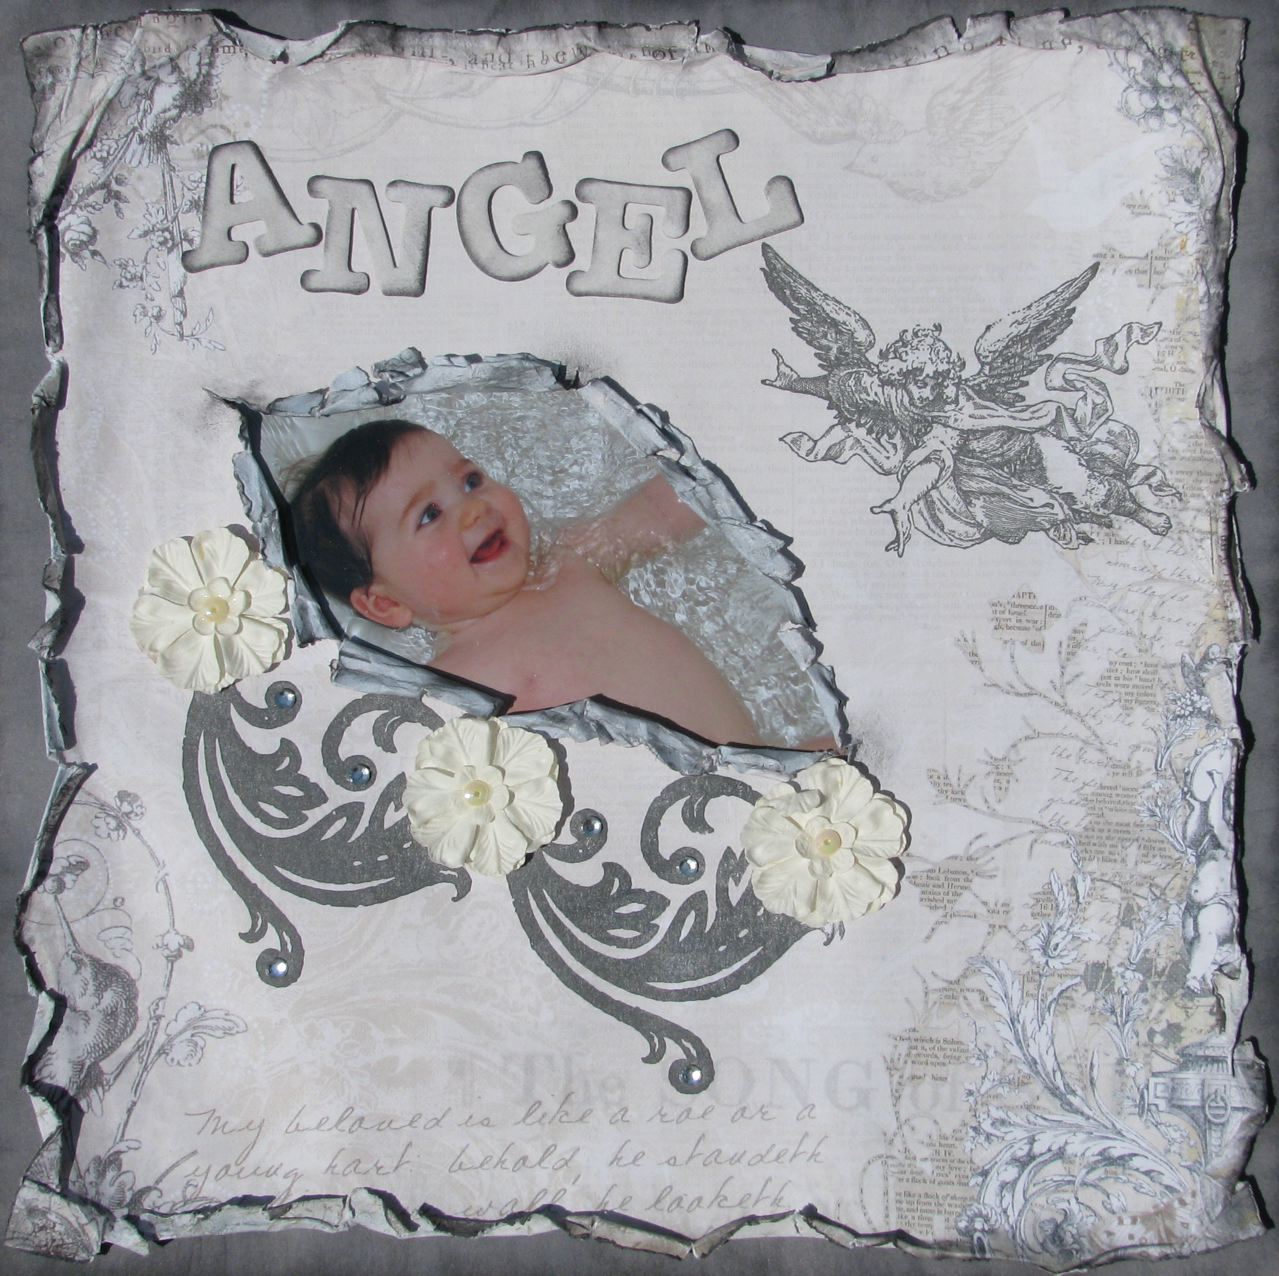
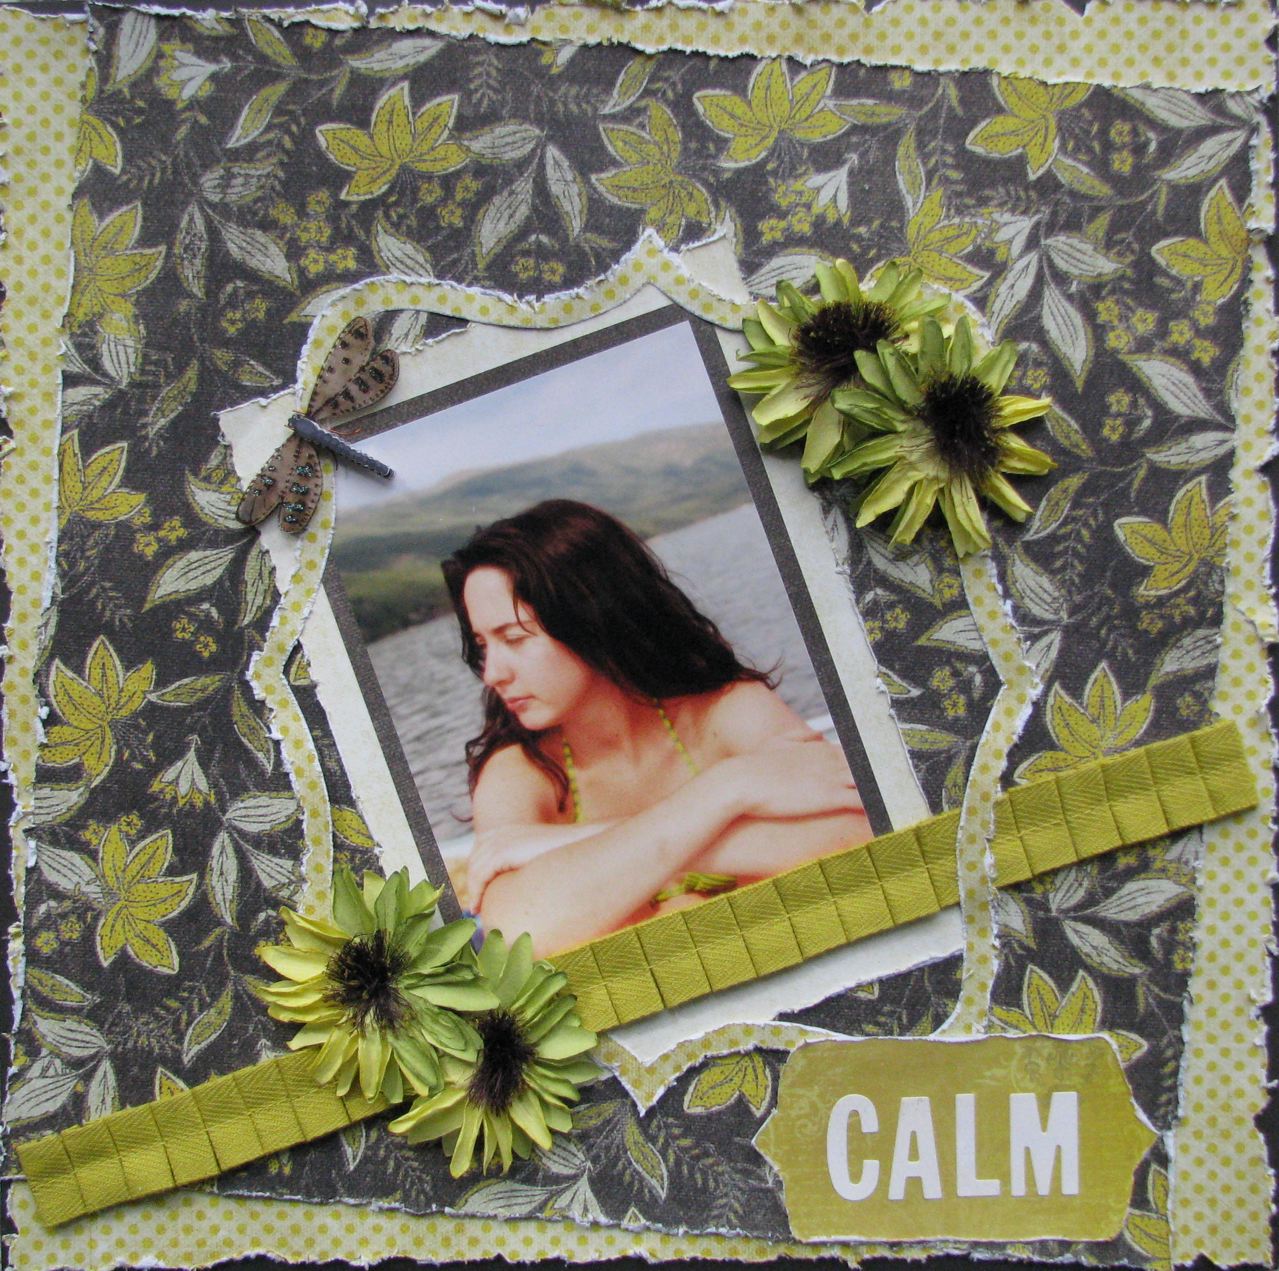
Here is a little peek at what will be revealed on Monday from the Scrap That! Design Team:


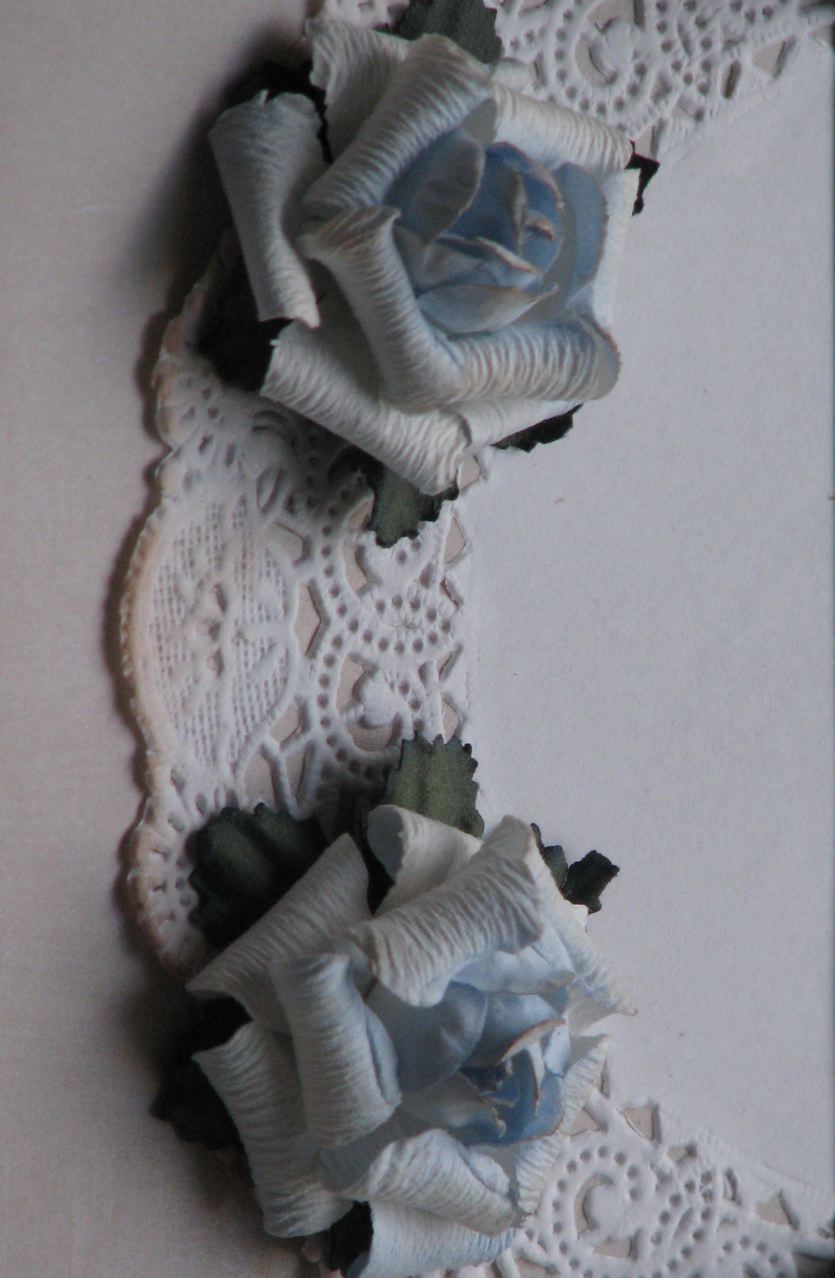


 NOTE: the smaller white one pictured above is the result if you don't do step 5 and squish the flower towards the center once glued. It looks more like a Prima Camelot flower that way.


 I really enjoyed creating these. NOTE: I actually used the pointed flower base to create the pink one below. Like I said use whatever punch or die cut you have because once twisted they all look nice. Have fun and don't forget to show me your results! All I ask is that when possible you please give credit where due (to ANY artist) because tutorials do take a lot of effort to produce. Thank you.
 You'll need a cardstock circle (rough cut mine about 2 inches), 18 inches or so of THIN lace (or sheer ribbon) or more if your circle is bigger... and a strong fast drying glue that dries clear. This will not work with thick/dense material. Also, the cheaper and rough (not soft and flat) thin lace works better (YEAH!).






 Step 1: Punch out 9 circles and fold them in half with the petal pattern on the outside this time.
 Step 3: Fold back top edge of the circle to create the double bloom. Again make sure all your semi-circles are facing the same way when doing this.
 Step 4: Ink the edges and glue the petals as in the previous flower, the bottom to the back of another petal until all are added. That's it!
 Note: These flowers also work with ovals, you just need a few more petals and it has a "spikier look".
 Posts
All Comments
Posts
All Comments


